Have you ever wanted access to a Linux box on your mobile device? Sure, you could just SSH into secure shell but what if you wanted the entire experience on your portable computer or at a friend’s house? Virtualization + RAS = true OS freedom (or… well, for geeky fun anyway). The technique is used on a regular basis but there may be some out there that may not know how to take advantage of it.
In this blog article I’ll explain how to get access to your Linux box from any platform or device. Keep in mind that if your host is already Linux you can skip the virtualization section and head right down to configuring the remote access software.
This setup can be and should be used on a Windows host machine running a Linux Guest environment.
Remote Access on Your Mobile
There’s been a lot of advancements in the fields of virtualization and remote access software, but it never ceases to amaze me how few all-in-one packages there are for manipulating virtual environments via mobile devices. This is because writing mobile devices is often tricky and the few software options out there are kind of crappy. The software I’ll be using in this post are the iOS iPad versions of TeamViewer HD Free for iPad and VMware View (also free but the host-side software is a 60-day trial). But I’ll only be providing the in-depth setup for TeamViewer as to do both would be too exhaustive.
Downloading TV or VMware View on Your Mobile
TeamViewer For Remote Control (Android OS)
TeamViewer HD for iPad (iOS/iPad)
VMware View for Android (Android OS)
VMware View for iPad (iOS/iPad)
Your RAS software is the key to accessing your virtualized session so select RAS that is usable on the desired mobile device. The RAS determines manipulation to a “T” so select wisely or YMMV. Similarly you can opt for VNC variations and swap out the RAS selections I’ve used.
As such, you’ll probably need to review the release notes on your mobile RAS to ensure that it’ll function correctly on your specific mobile device. For example, I’ve used TeamViewer for Android on my Motorola Razor without any problems. But I wouldn’t expect speedy results on an older android without a dual-core processor.
Host Machine
Obviously it goes without saying (but I will) that your host needs to be on if you want to access your virtualized box. The critical components here are:
- RAM
- Bandwidth
I’ll be using ~1.5-2 gigs dedicated to the virtual sessions but keep in mind that this is the bare minimum needed for most X environments to work efficiently under pressure (and therefore in a virtual environment). Your success will be based on how much RAM you a lot the virtualization on the host machine: some operating systems X environments are resource hogs. Keeping that in mind, I’ll be using Bodhi Linux as it’s a lightweight E17 distribution. Minimalism is critical if you are tight on RAM.
(If you’re interested in Bodhi Linux you can pick up the distro here: http://www.bodhilinux.com/)
It goes without saying that 3D hardware acceleration needs to be enabled on the host but what you’ll see on the mobile client may also vary, this means having a fairly new GPU. But this is Linux we’re talking about… in all likelihood you’ll be fine so long as you aren’t doing anything too graphically intense. I’m using an XFX HD 6670 with 1 GB of DDR5 so you don’t need anything fancy (keep in mind everything on my system is bottlenecked due to an old Pentium D processor, so any modern system should be able to do well). If the virtual environment plays fine on your host you are set in that department.
Bandwidth is critical. I’m pulling 45/35 on a fiber line for the host. You don’t want your host machine to slow you down (use Wi-fi on the client-side as opposed to 3G or 4G if the network is fast enough). Let’s be honest. We’re using RAS (slow) and virtualization (potentially slow), you don’t want a bandwidth problem factored in. Nothing sucks more than remote access lag.
Host Software
This is broken up into two parts. 1) The virtual environment creator and player (can be the same in the case of VMware Workstation or VirtualBox), and 2) The RAS setup within the virtualized Linux session.
This post will be focusing on the latter. You should already know how to setup a virtual environment in VMware or Oracle VM VirtualBox. Read the documentation associated with either virtualizaton software package you decide to use (keeping in mind, of course, that VirtualBox and VMware Player are free while VMware Workstation is an expensive investment; the free former alternative is best for creating and playing environments without having to purchase VMware Workstation).
Oracle VM VirtualBox can be downloaded here: https://www.virtualbox.org/
VMware Workstation can be sampled for 30-days here: http://www.vmware.com/products/workstation/overview.html
VMware Player (not a v creator) can be downloaded here: http://www.vmware.com/products/player/
The last note here would be to use NAT as your network adapter preference to allow the host to share the IP address (my VPN configured through my host machine also worked well with this configuration).
Virtualization’s RAS
TeamViewer or VMware View 5.0 are ideal since they are well documented and exist on nearly any platform you need. You need to have created your virtual environment flawlessly for this to work which means installing and being able to use Linux as a whole.
As far as the virtualization’s RAS is concerned, if you did use Bodhi you can download the Debian archive for TeamViewer for Linux or use Synaptic to automate the process (using this method is the easiest with TeamViewer7).
Configuring Your RAS (TeamViewer Example)
Upon starting TeamViewer for the first time you’ll get a notice about software configuring Wine to run the remote desktop accordingly.
I would create an account on TeamViewer to be able to save frequently accessed computers.
Once it starts up you’ll want to copy down your 9-digit ID number. If you want to perform unattended sign in disregard the attended password on the main page (keeping in mind that your Linux guest box and TeamViewer software needs to be running).
To configure the unattended password head over to the Options/Security Tab and choose a complex password for logging in (the combination of your 9-digit ID and your unattended password will allow you remote access to your virtualized Linux session).
Then head over to your mobile TeamViewer app (or the program you are trying to connect from) and add the Linux guest’s ID and unattended password in the “Computers & Contacts” section of the client.
Then go ahead and connect resting assured the connection is secure (even if you’re connecting over an insecure wi-fi).
Closing Notes
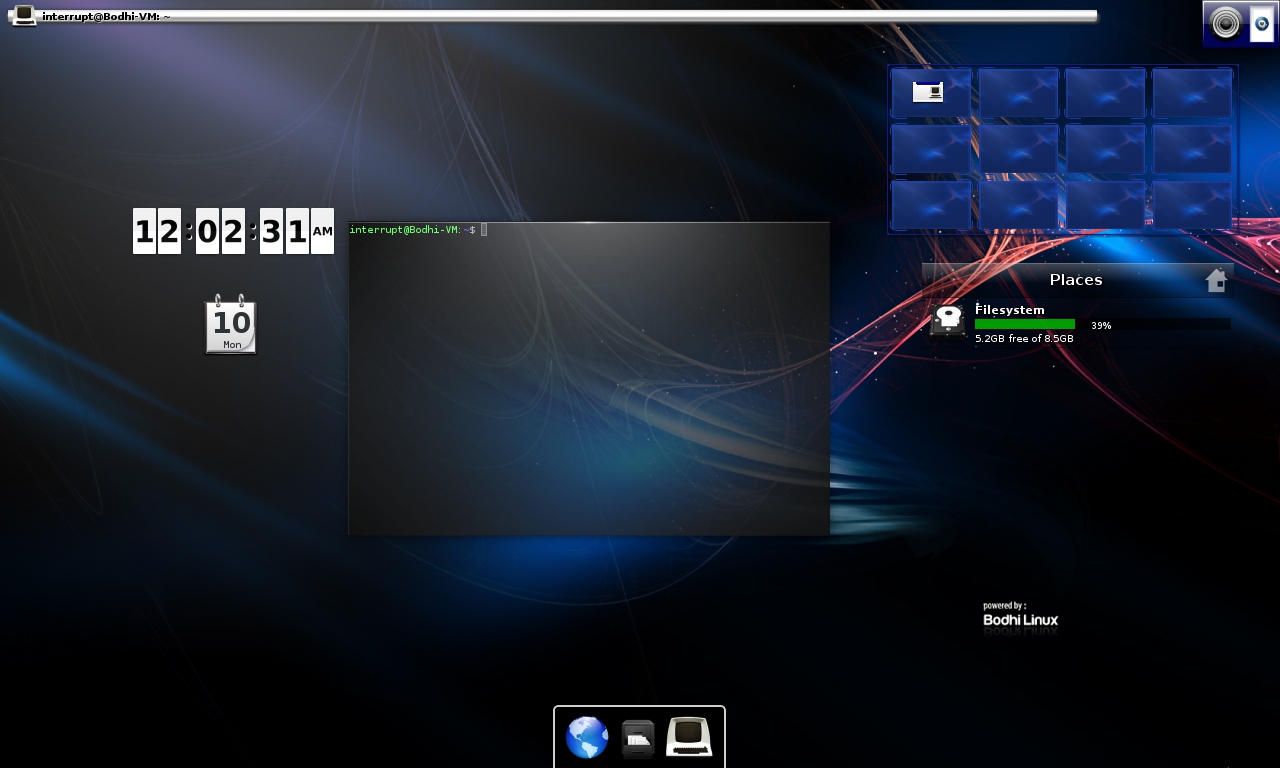
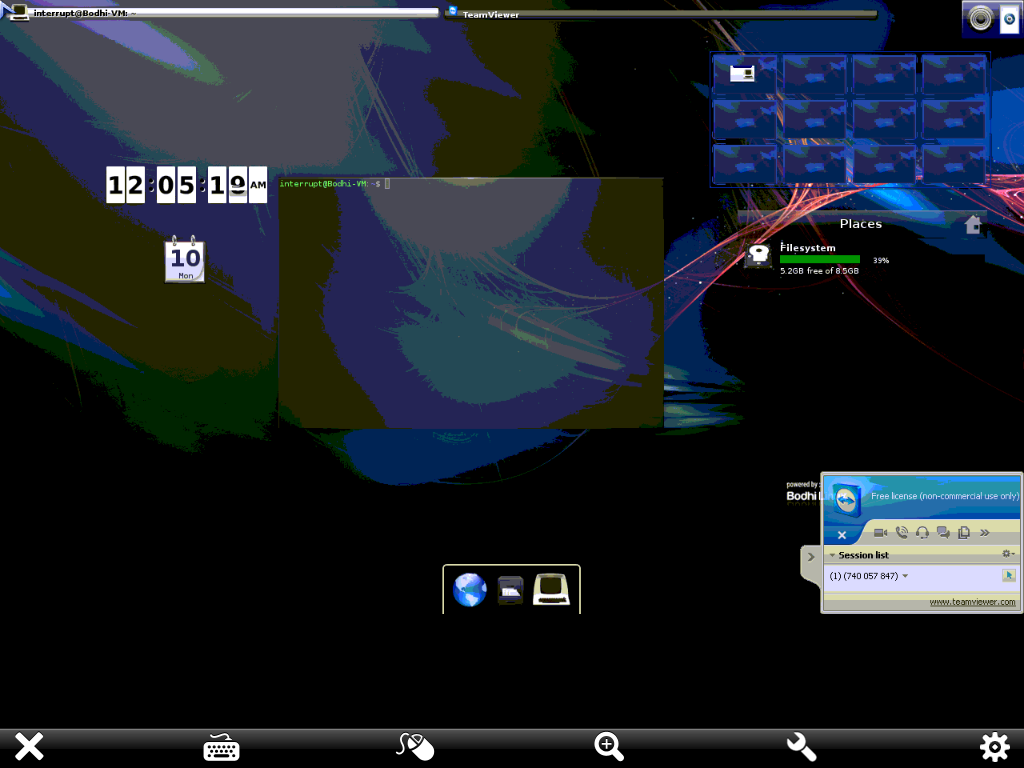
Bodhi Linux Guest VMware / Bodhi on iPad 1
It’s highly unlikely that any RAS is going to offer stunning visuals but different software can provide different results (TeamViewer isn’t known for graphical prowess). Regardless, feel free to play around with the general concepts explored in this post to achieve a suitable result. In the end the goal was to create a decent remotely accessible Linux virtualization as opposed to accessing your Linux box through a CLI and, to that end, it worked.


